

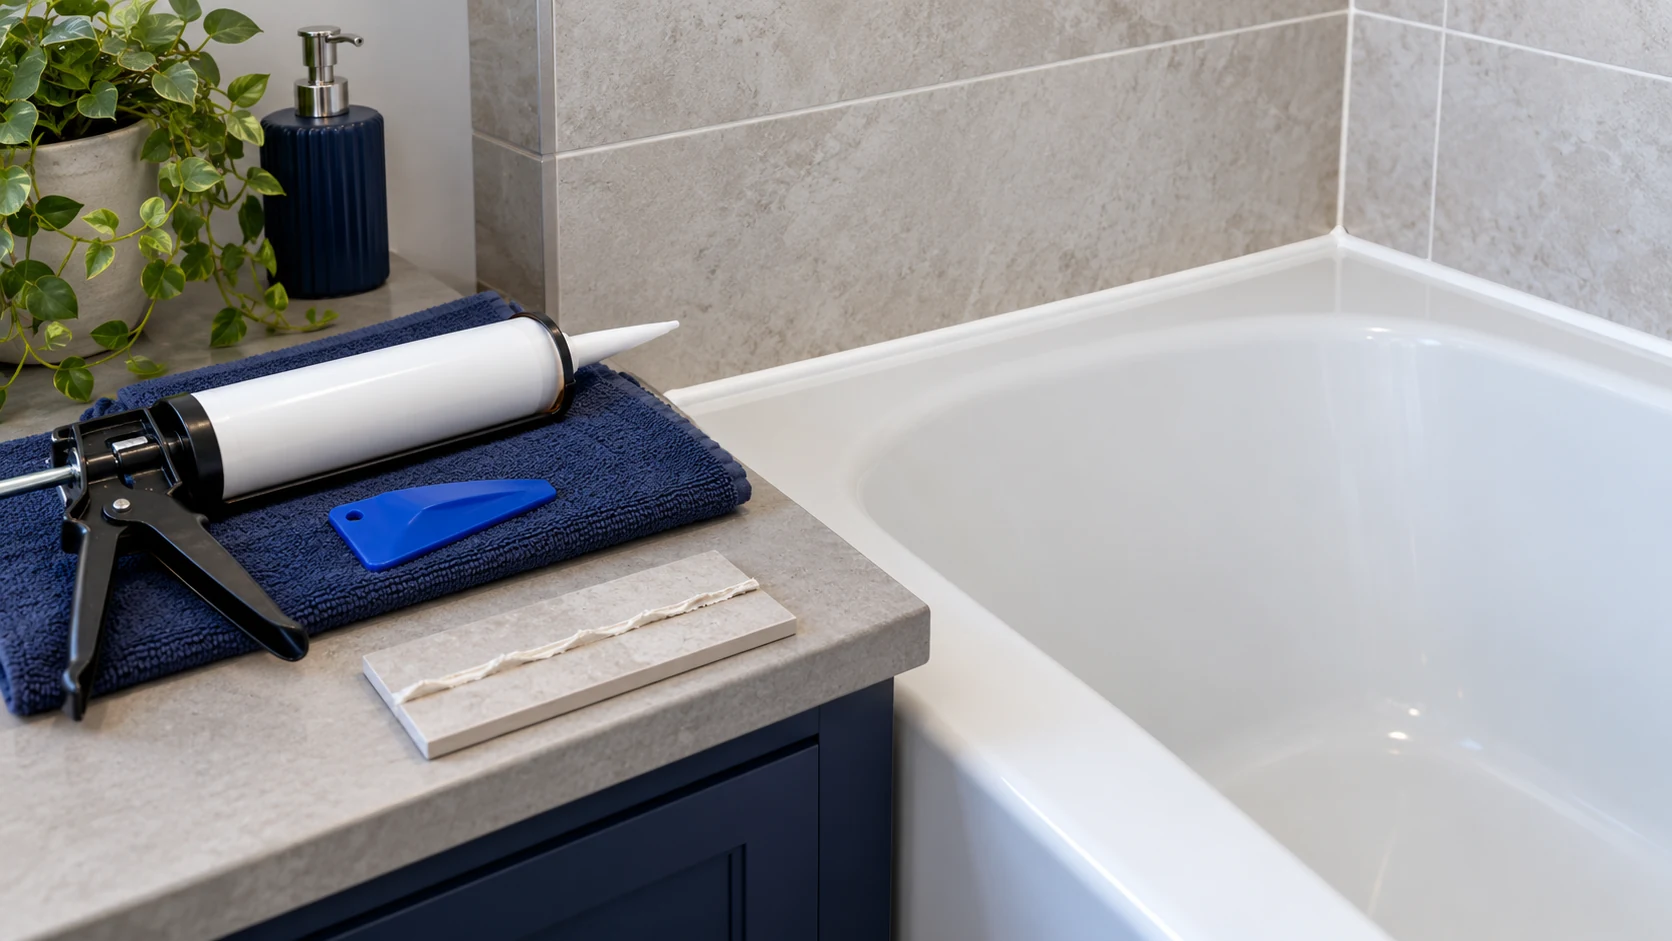
How to Choose, Apply and Maintain a Watertight Kitchen or Bathroom Seal
Is a neat new bead enough, or is the joint underneath causing the leak?
Updated 30 October 2026 · Electrical Xpress buying guides
A watertight seal depends on the surfaces, joint movement, sealant and workmanship working together. A smooth looking bead can still fail if it is applied over damp residue or bridges a moving gap it was never designed to accommodate. Start by understanding why the existing joint needs attention.
Is sealant the right repair?
If water is escaping from a pipe connection, cracked tray, failed waterproofing layer or loose fixture, a surface bead may hide rather than solve the problem. Investigate the source first. Persistent movement, soft supporting material or recurring damp can need a specialist repair before resealing.
For an appropriate joint, choose a product approved for the substrates and exposure. A sanitary silicone, a construction adhesive and a general purpose sealant are not interchangeable simply because they use a cartridge gun. The HB42 white silicone, clear alternative and CT1 clear sealant and construction adhesive should be compared against their own instructions and the actual surfaces.
What preparation makes the biggest difference?
Remove failed material and contamination using a method that will not damage the finish. A clean appearance is not enough if a greasy film remains. Let the joint dry as required and check whether the manufacturer calls for a primer or backing material. Never mix cleaning chemicals, and ventilate the area as directed.
Protect the surrounding surfaces and plan the joint profile. The heavy duty sealant gun can help deliver a controlled bead; the sealant finishing tools and profiling kit provide different finishing options. Tools do not compensate for an unsuitable joint width or an unstable bath or tray. Follow the fixture and sealant makers' instructions for support, loading and movement.
How should application and curing be planned?
Read the cartridge before opening it. Check shelf life, storage, application temperature and protective equipment. Prepare only the length you can finish within the product's working time. Keep the bead continuous and in contact with the intended surfaces, using the approved tooling method rather than unapproved additives.
Do not mistake a dry skin for a cured seal. Bead size and environmental conditions affect curing, so follow the exact water exposure instructions. Keep the area out of service for the required time. Plan this before starting work on the household's only shower.
How do you make the repair last?
Use compatible cleaning products and avoid abrasive scrubbing that damages the bead. Improve ventilation and deal with standing water where practical. Mould resistance reduces one risk; it does not remove the need for cleaning and drying.
Inspect periodically for gaps, lifting edges, splits and persistent discolouration within the seal. When adhesion has failed, replace the affected joint after investigating the cause. Adding another thin layer on top rarely provides the same dependable bond as a properly prepared replacement. Keep the product reference and installation date so the next maintenance decision is based on more than appearance.
Compare the key choices
| Stage | Aim | Common mistake |
|---|---|---|
| Diagnosis | Find the water path | Covering a plumbing or structural fault |
| Selection | Match materials and exposure | Choosing only by colour |
| Preparation | Clean, sound, suitable surfaces | Leaving old residue or moisture |
| Curing | Allow the specified conditions | Using the shower when only the skin has formed |
Explore the product examples
Compare the specifications and current availability of these catalogue items. They illustrate different choices in this guide and are not a list of mutually compatible components.
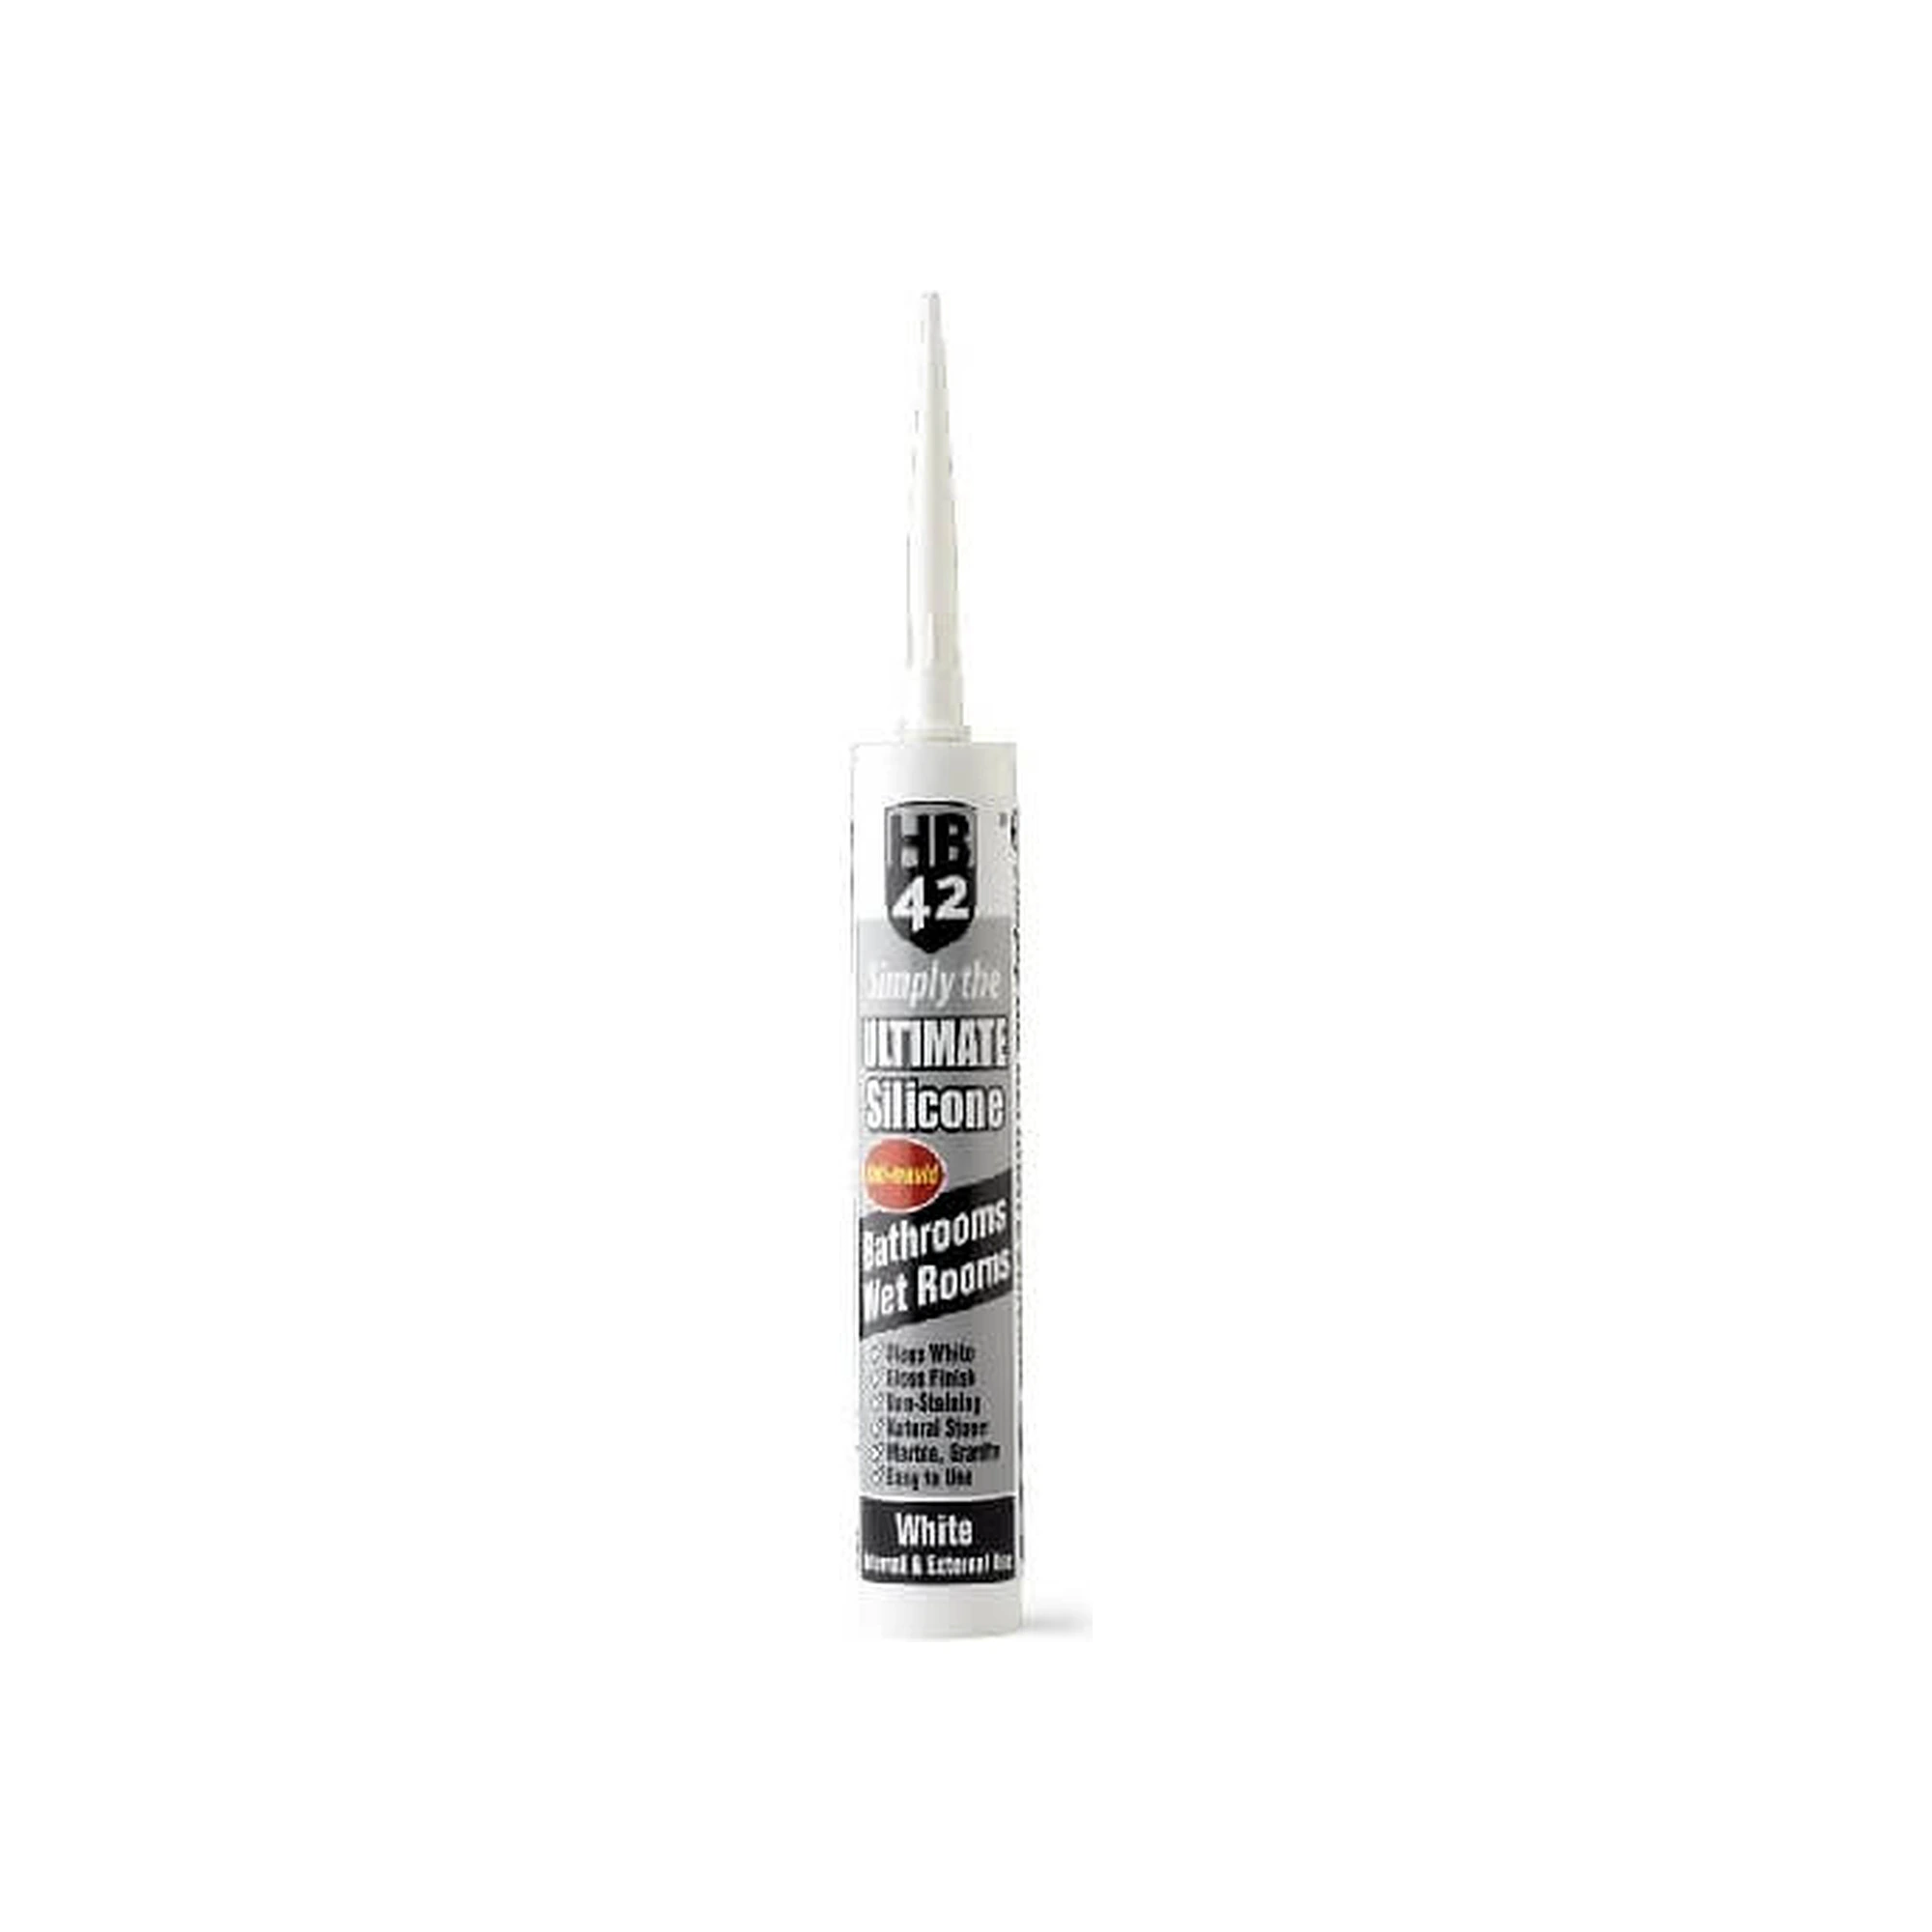 HB42 Simply Ultimate Silicone White 310ml
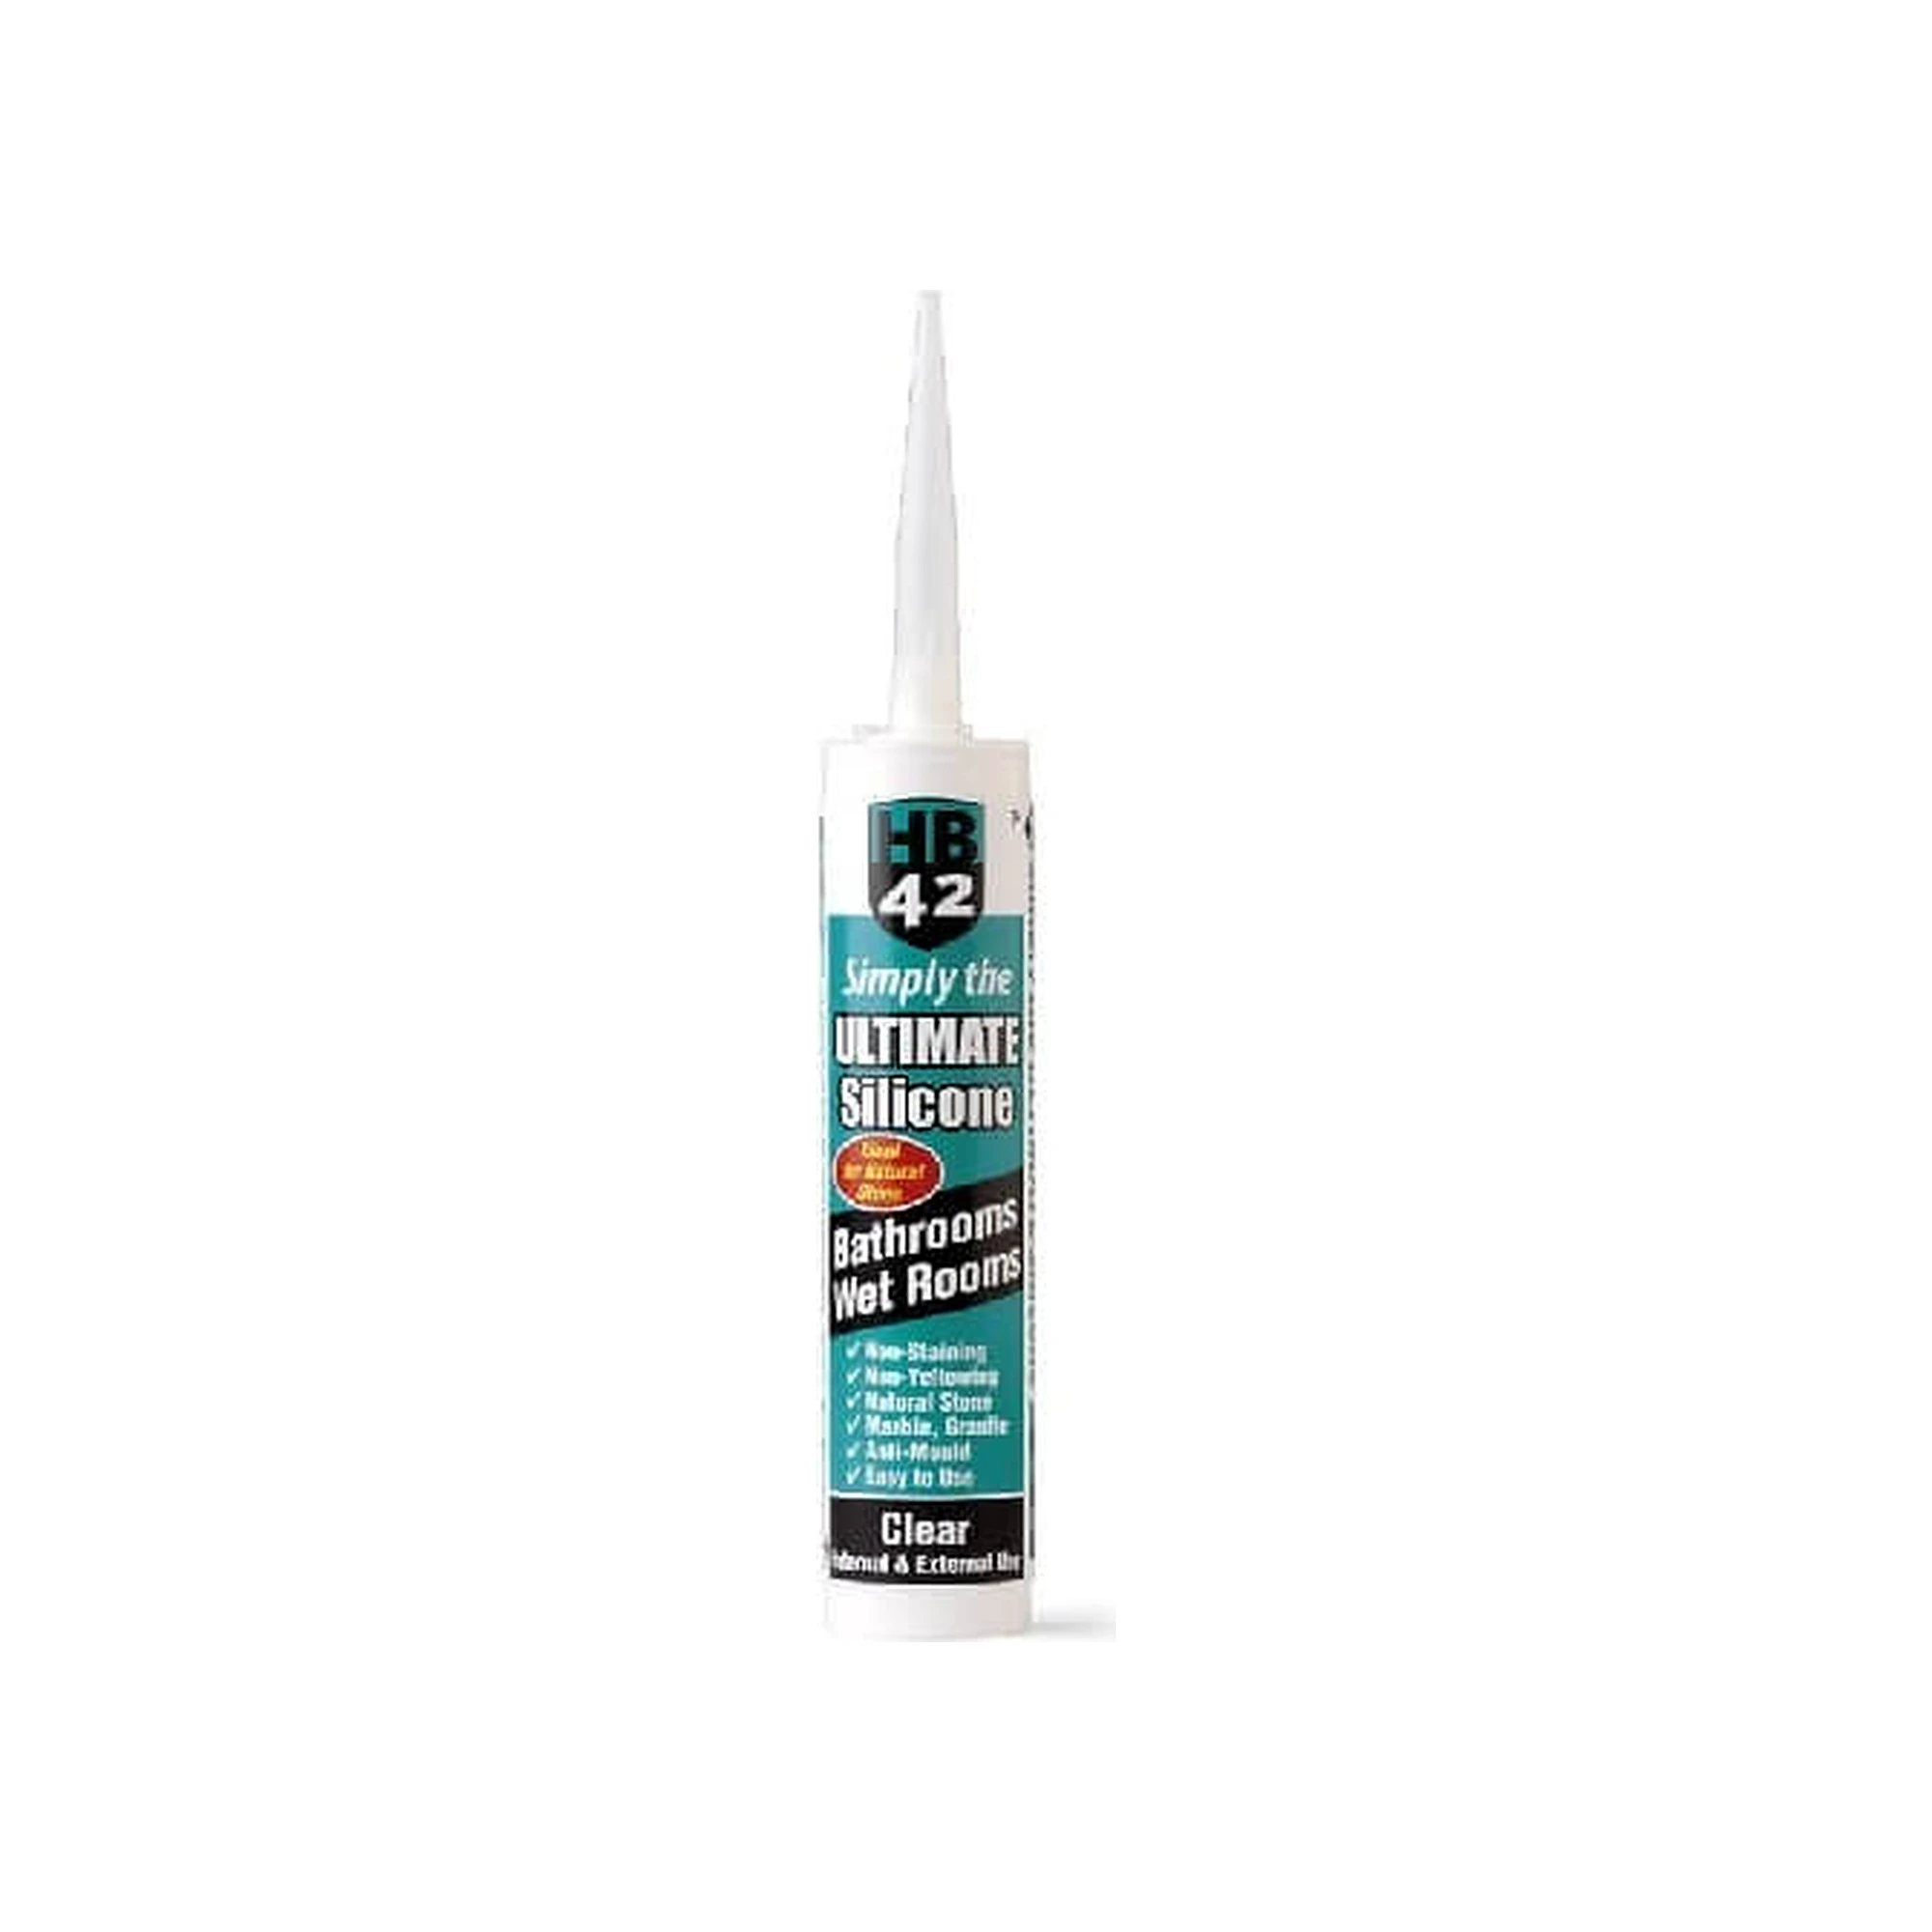 HB42 Simply Ultimate Silicone Clear 310ml
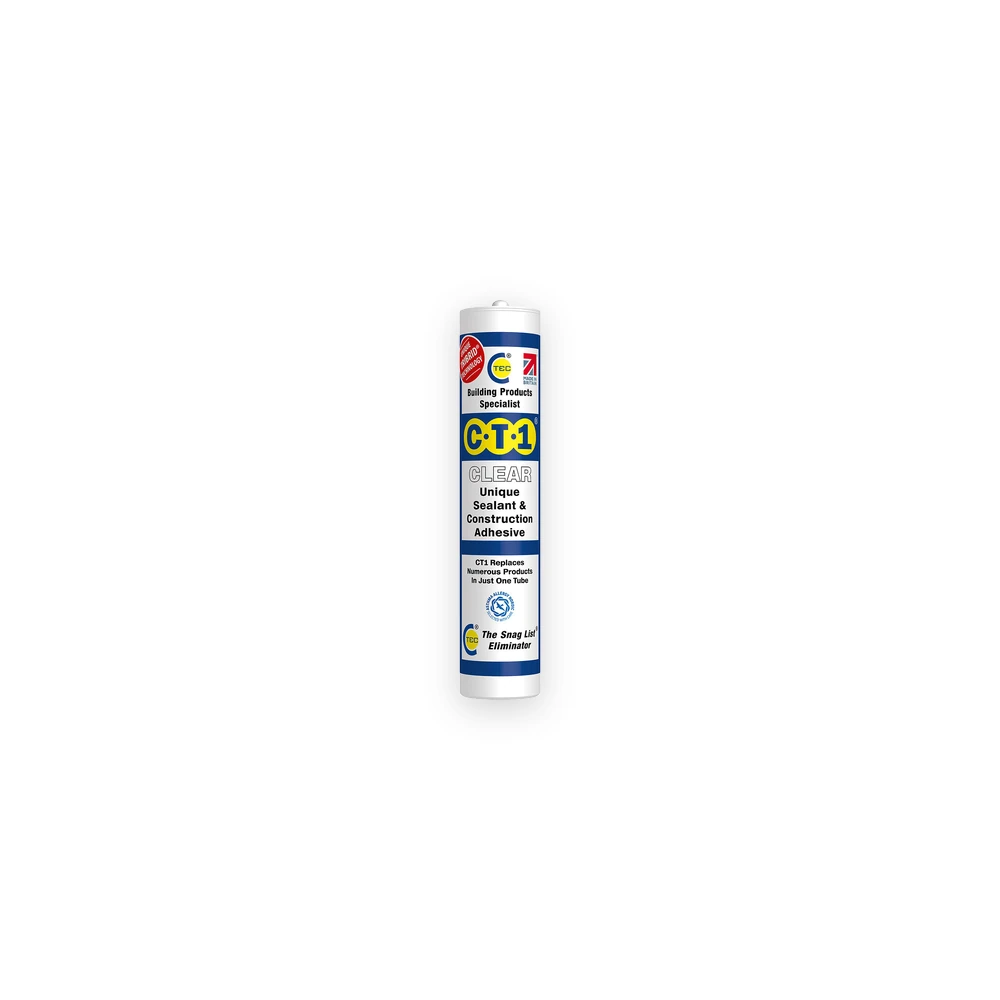 CT1CL Clear Sealant & Construction Adhesive 290ml Cartridge
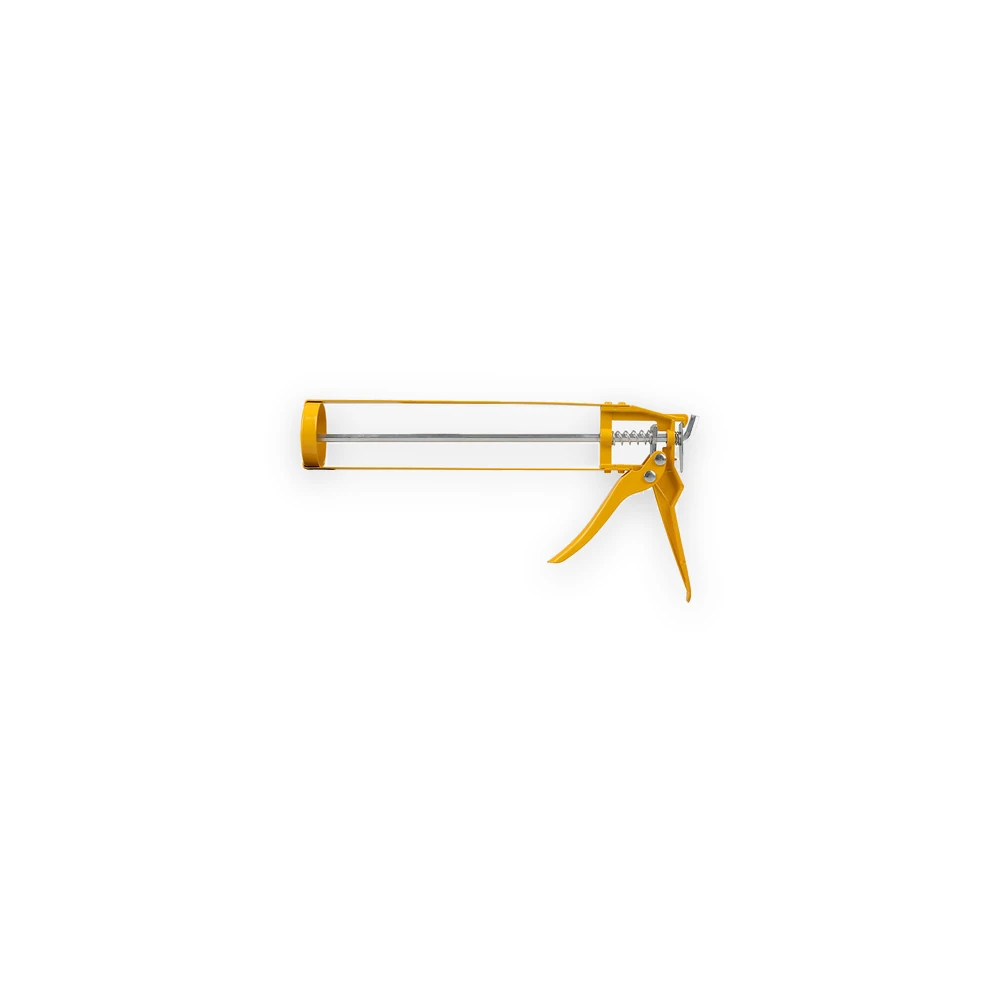 RTRMAX Heavy Duty Silicone Gun
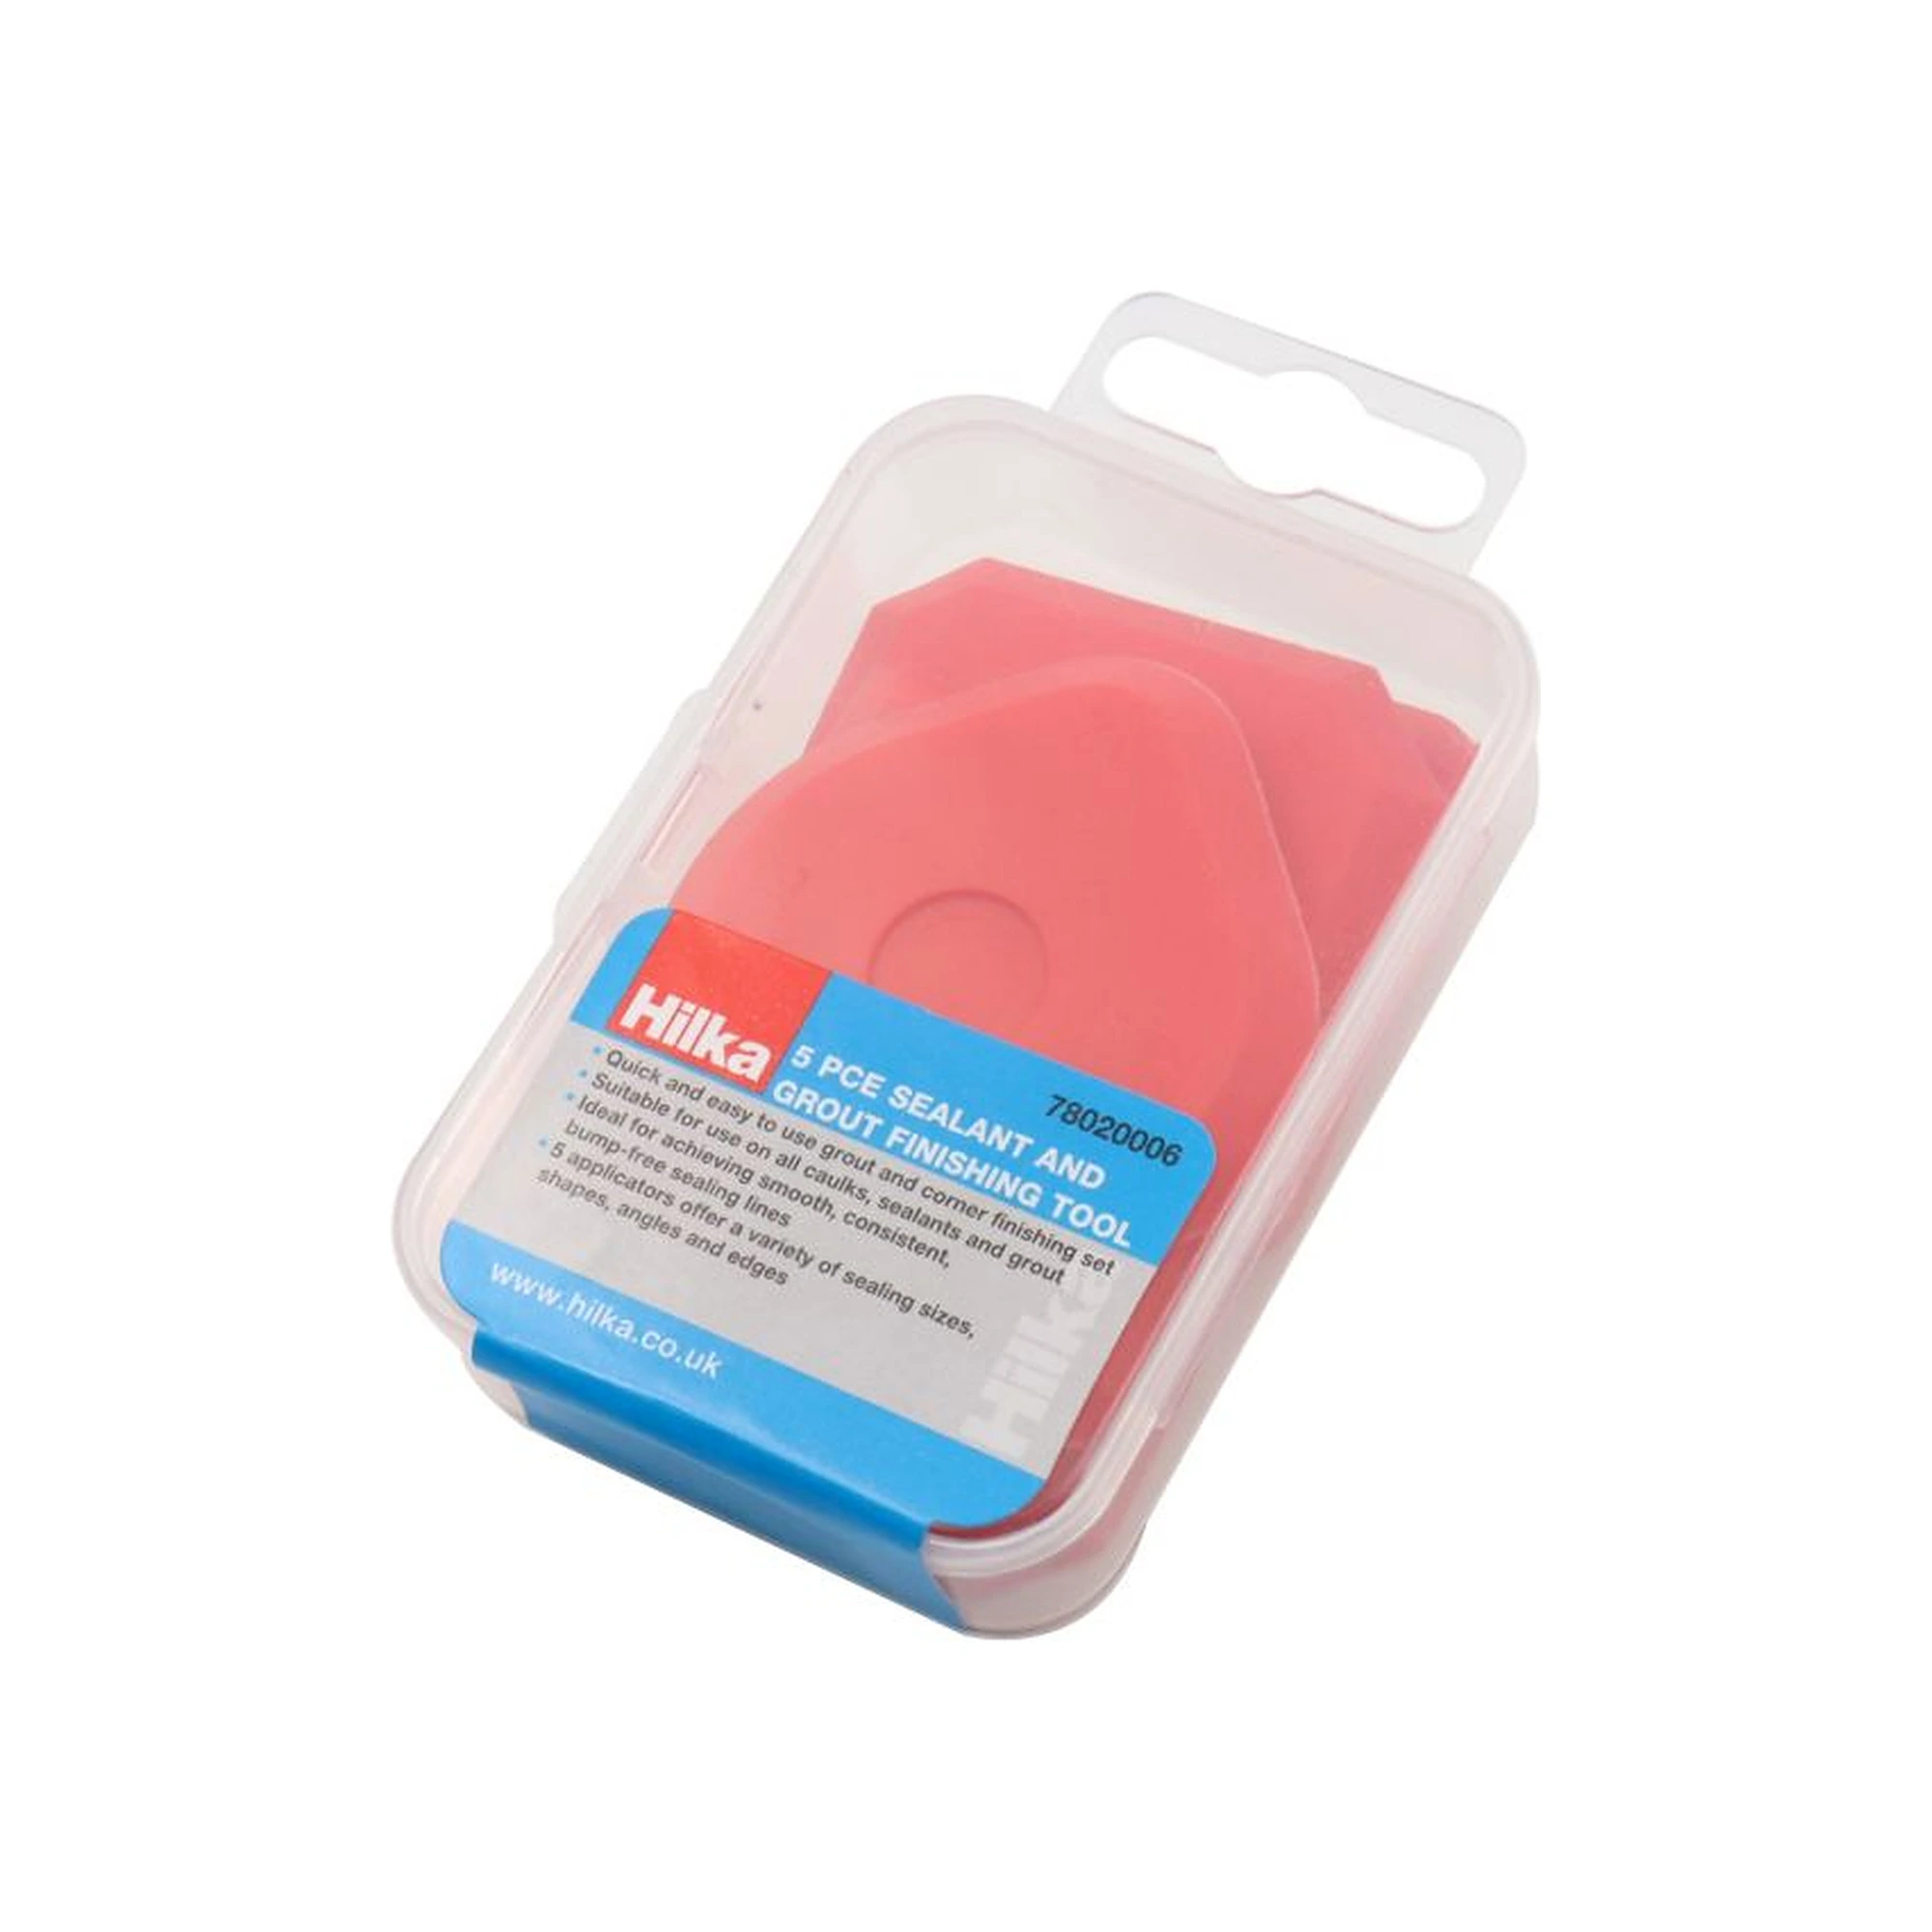 Hilka 5 pce Sealant and Grout Finishing Tool
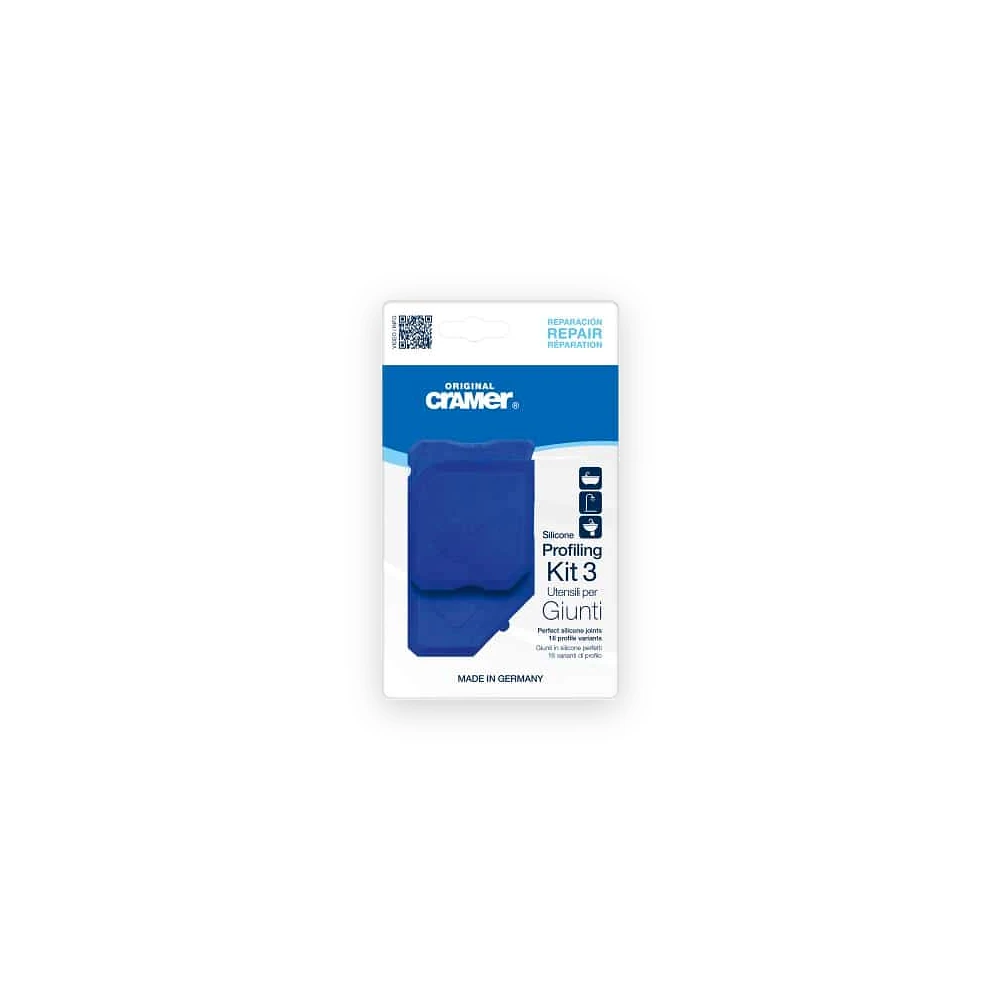 FUGI-KIT III Silicon Profiling Kit ( Set) – 3 Piece
Watch the educational video
Video by PFE Technologies Pte Ltd. The YouTube player loads when you choose play. Watch on YouTube.
Frequently asked questions
Can silicone repair every bathroom leak?
No. A failed pipe, tray, support or waterproofing system may need its own repair.
How often should a seal be replaced?
Inspect its condition rather than relying on a fixed calendar. Loss of adhesion, splitting or recurring contamination calls for investigation and appropriate replacement.